
Construction and materials
How to Build a Subwoofer Box
Last updated
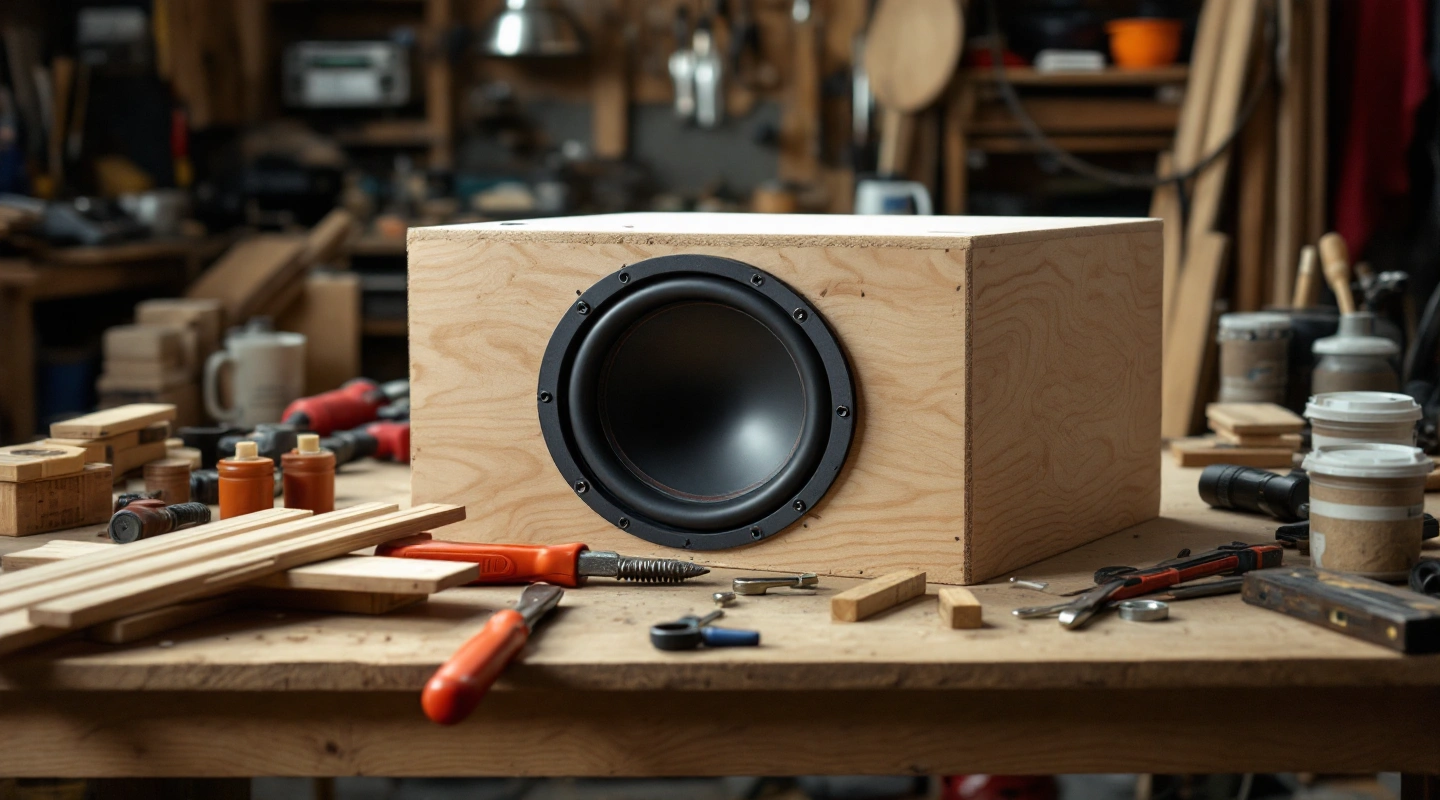
Learning how to build a subwoofer box starts with a checked plan, not a hole cut into spare board. Match the driver to its manual, settle the airspace convention and choose a joint layout. This sequence takes a rectangular shell from measured panels to an inspected box without treating a nominal speaker diameter as a design.
Use the exact driver's box target. Add occupied parts only when the target calls for them. Measure actual panel thickness, work out the inside cavity and check the driver layout before cutting. Dry-fit the shell, bond the joints, fit braces and terminals, then inspect the seals after the stated cure. Keep the vent open if the plan is ported.
On this page
1. Choose the subwoofer box target and driver
Write the full model code on your plan. Find the sealed or ported target in the maker's manual. Record whether it means net airspace, gross cavity or a figure that already allows for the driver. The model size reference shows why that distinction matters.
Decide the box type before drawing the shell. A ported plan also needs a vent design. A sealed target plus a hole is not a ported alignment. The exact driver's manual takes priority over a generic size chart or an unlabeled online design.
2. Check space and panel thickness
Measure the intended space and the route into it. A box can fit in a trunk but fail to pass its opening. Leave room for the driver's exposed frame and any vent opening. Vehicle attachments require the actual vehicle's instructions; this guide does not assign drilling points.
Measure your sheet at several places. Use the measured thickness in the box planner. If the front has two layers, enter both. Check mounting screws against that front thickness and the maker's supplied hardware instructions.
Control dust at the cutting source. OSHA's wood-dust guidance explains extraction as an exposure control. Read the saw manual for guards and work support before starting. A domestic project does not make sawdust or blade contact harmless.
3. Check the butt-joint cut sheet
This site's rectangular plan has front and back panels covering the edges. Side panels run full height between them. Top and bottom panels fit between the sides. Do not mix these sizes with a plan where the top caps all four walls.
For a synthetic 20 × 14 × 12-inch shell in 0.75-inch board, the inside is 18.5 × 12.5 × 10.5 inches. Gross cavity is 1.405165 cubic feet. The panel set is two 20 × 14 faces, two 10.5 × 14 sides and two 18.5 × 10.5 top/bottom pieces. These are finished sizes, without a saw-kerf allowance.
Mark each panel and its mating edges on paper. Check the total thickness stack in all three directions. Place the cutout center and frame circle on the front face. Check the motor envelope inside before placing a brace directly behind it.
4. Dry-fit the subwoofer box before bonding
Assemble the unglued shell and measure it again. Check that mating edges meet without large gaps. Compare both diagonals of each rectangular face when checking for square. Correct the cut or joint while the panels can still be separated.
Choose an adhesive stated for the actual surfaces. A thick bead of sealant does not repair a badly fitted load-bearing joint. Follow the maker's assembly method and clamp instructions. The Titebond wood-glue FAQ distinguishes clamping from the wait before stressing a joint. No fixed overnight rule covers every adhesive.
Install inside parts while you can reach their bonds. Keep squeeze-out from reducing a vent's clear section. Let the chosen adhesive reach its stated cure before closing access or loading the box. Do not invent a cure time from another product's label.
5. Fit the driver and inside parts
Measure the solid material in the braces, then enter it in the ledger. A window brace is its outside volume minus its openings, not the full outside rectangle. Keep intersections and shared material from being counted twice. The bracing guide works through this step.
Check terminal-cup depth against the nearby driver and vent. Route the inside cable so it cannot strike the cone or obstruct the port. Use the driver's gasket or the stated replacement seal. Tighten the mounting fasteners in the sequence and to the limit provided by the hardware maker.
Inspect seams, gasket contact and terminal seals. On a ported build, the intended vent remains open. Do not use high playback levels as a leak test. Secure the completed box using stated vehicle-specific attachment details before use.
A complete volume ledger
Starting from the synthetic 1.405165-cubic-foot cavity above, suppose measured intrusions are 0.050 for the driver, 0.040 for braces and 0.005 for the terminal. The sealed net result is 1.310165 cubic feet. These are example inputs, not a recommended target for an unnamed driver.
If you later add a vent, its inside occupied envelope must join the ledger. That reduces net airspace and can change tuning. Save a new version of the plan whenever the inside layout changes. Keeping the old cut sheet without its new deductions leaves the design record incomplete.
FAQ
Can I use a generic 12-inch box plan?
Use it only after checking the exact driver's manual, cutout and mounting space. The nominal diameter is not an airspace specification. Check what the plan's quoted volume includes. A template can supply construction ideas, but it cannot prove fit just because both labels say 12 inches.
Should I glue or screw the panels?
Follow the chosen joint and adhesive instructions. Screws can hold an assembly during bonding, but a screw pattern does not make an open joint airtight. Check pilot holes and edge distances for the sheet you use. Do not tighten into a split edge and expect sealant to restore its strength.
Does carpet fix a leaking joint?
No. Check the structural joint and its inner seam before adding a finish. Carpet can hide a crack without sealing the cavity. Remove loose covering where inspection requires it. After repair, allow the adhesive or sealant its stated cure and check the driver gasket and terminal mounting as separate leak paths.
Is this a tested box recipe?
It is a source-grounded construction sequence with stated arithmetic examples. No physical build or listening test is claimed. Your driver's manual supplies the acoustic target, and your measurements supply the layout. A finished shell still needs seal, fit and attachment checks that a volume equation cannot perform.
Verdict
Knowing how to build a subwoofer box means keeping the manual, cut sheet and installed-volume ledger in agreement. Check the calculation first, dry-fit second and inspect before use. Continue to seal the box joints after the shell fits.