
Construction and materials
How to Seal a Subwoofer Box
Last updated
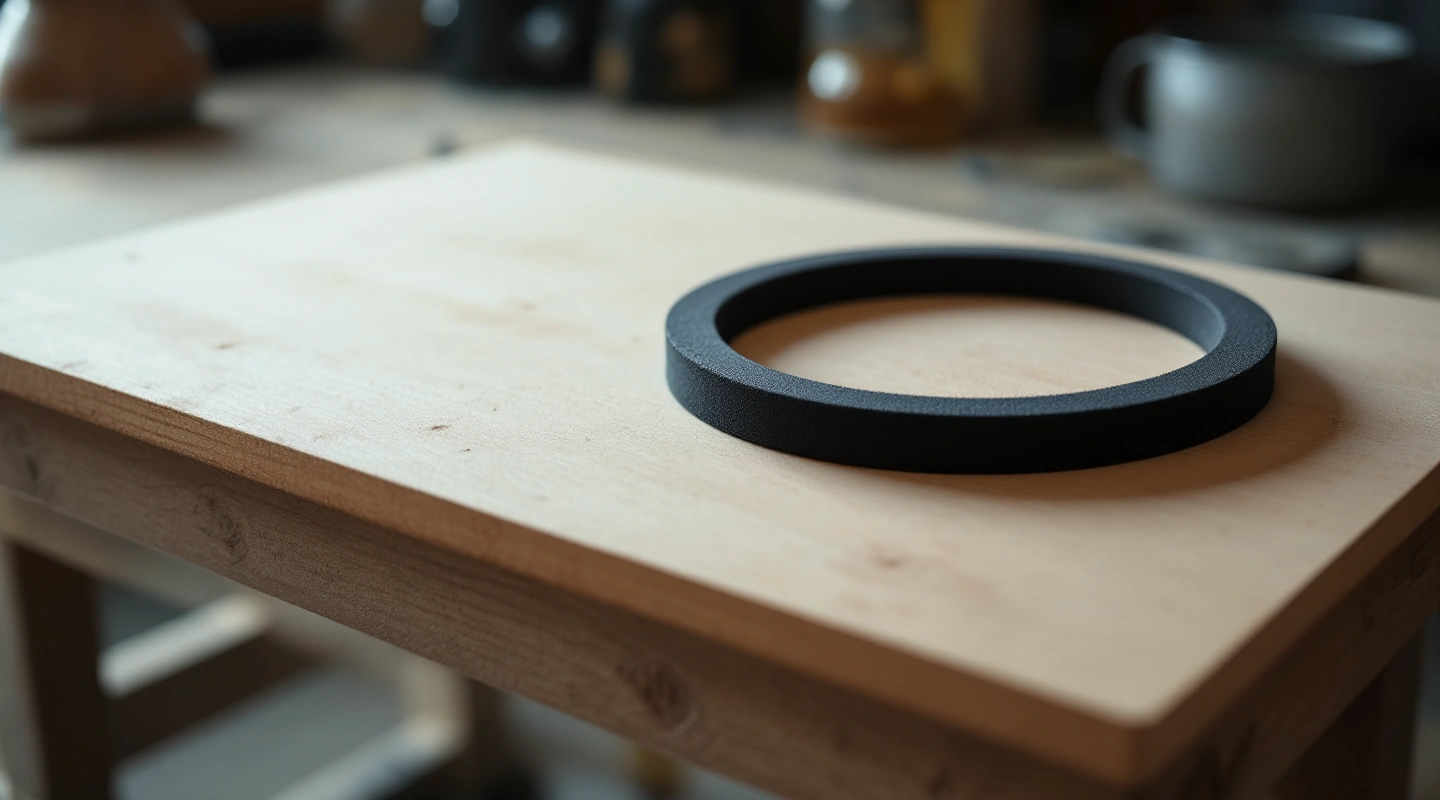
To decide how to seal a subwoofer box, separate structural joints from removable seals. A bonded panel seam, driver gasket and terminal cup each need a different check. Fix the opening that leaks rather than coating the whole interior and hoping the fault disappears.
Make the shell joints fit and bond correctly first. Then inspect each seam, the driver gasket and every terminal opening. Use products stated for the actual materials, and allow their stated cure before closing the box. Keep a ported box's designed vent open. A sealant bead cannot prove the strength of a failed joint or supply missing net volume.
On this page
1. Inspect the subwoofer box joints
Remove the driver only after disconnecting the system as its instructions require. Support it by the frame and keep tools away from the cone and surround. Photograph or sketch the inside layout if that helps you restore the cable route later.
Inspect each bonded seam with a light. Look for an open gap, loose edge or cracked joint. Check around braces where access is poor. A visible crack may be a structural problem, while a small unbroken seam gap may be a sealing problem. Do not assume that the same repair fits both.
The KICKER construction guide describes an airtight box and fitted, bonded construction. Use the box-building sequence if the panels themselves need rebuilding. A cosmetic covering over a loose joint does not restore the intended assembly.
2. Choose a suitable sealant
Identify the surfaces you will bond. Raw wood may need different treatment from cured resin or a painted finish. Read the chosen product's technical sheet for the actual surface. Follow its preparation and application steps, including the stated cure conditions. Similar product names do not prove chemical compatibility.
For bonded wood joints, the adhesive needs sound wood-to-wood contact. An inside seam seal may be an added detail; it is not a substitute for the joint bond. The Titebond FAQ shows why assembly and cure needs must be read for the actual glue rather than borrowed from another build.
Do not publish or follow a fixed number of cure hours. Temperature, bead size and product chemistry matter. Keep uncured material away from the driver, and follow the product instructions about enclosed spaces. Refit parts only after the stated conditions have been met.
3. Fit the driver gasket
Clean the baffle's sealing face without damaging its finish or the driver's gasket. Check for carpet folds, screw debris and raised edges. The frame needs even contact around the intended sealing surface. A hole that is too large can leave too little land under the gasket.
Use the gasket supplied or stated for the driver, or a replacement stated for the job. Do not invent a strip thickness that holds the frame off the baffle. Follow the maker's fastener pattern and tightening limit. More torque can damage a frame or split a mounting edge.
Check screw holes that pass into the cavity. Stripped holes can prevent even gasket compression. Repair them using a suitable stated method before retightening. Do not rely on the visible screw head to prove that the frame is seated.
4. Seal terminals and cable exits
A terminal cup creates both a hole and a flange joint. Check the cup gasket against the box surface, then check any molded seams or connectors. Follow the terminal maker's mounting instructions. A larger bead around the outside may conceal a gap while leaving the flange poorly seated.
For a direct cable exit, use a suitable sealed passage with strain relief. A loose hole around a wire is a leak path and can abrade the cable. Avoid routing bare conductors through an unfinished edge. This is a mechanical box check, not a substitute for the amplifier's wiring instructions.
Inside the box, keep wire loops from touching the cone or the rear vent. A cable rattle can sound like a leak. Check the bracing layout too, since a loose brace edge may be the actual noise source.
5. Check the sealed subwoofer box after cure
Repeat the inspection after the chosen products have cured. Look for missed corners and gaps around flanges. Check that the driver sits flat and the terminal does not rock. Keep a record of what you repaired rather than changing several unrelated things at once.
Do not use sustained high-level tones to diagnose a seam. They can stress the driver and your hearing without finding the fault. Follow the driver's operating limits and use a controlled low-level check only when it is safe to do so. Stop if there is rubbing or unexpected mechanical noise.
If the box is ported, air movement at the intended vent is expected. Do not seal that opening during playback. Read how to seal a ported box to separate a vent joint leak from the vent's designed air path.
Check whether the repair changes airspace
A small seam bead may have little effect on a large cavity, but a thick inside repair block can matter. Measure solid additions and enter them in the occupied-volume ledger. Do not subtract the same corner block as both bracing and repair material.
For a synthetic example, four repair strips each measure 10 × 0.75 × 0.75 inches. Their total is 22.5 cubic inches, or 0.013021 cubic feet, before any intersections are removed. A sealed box with 1.200 cubic feet net before those strips would have 1.186979 after them.
The arithmetic does not prove whether those strips are a suitable repair. It shows why the box calculator needs the final inside layout. If the shell's joints have failed, resolve that construction problem before treating a revised volume result as useful.
FAQ
Do I need to seal every inside seam?
Inspect every seam, but use the joint and product instructions to choose the repair. A sound bonded joint and an open gap are different cases. Check braces and flanges while you can reach them. A coating applied everywhere can hide defects and does not prove that the shell is airtight.
Can I use any silicone sealant?
Do not assume that. Read the exact product's compatibility and cure instructions, including any limits for enclosed spaces. Check what can contact the board or finish, as well as nearby driver materials. A waterproof label does not establish suitability inside a speaker box. A broad category such as silicone cannot supply those product-specific instructions.
Why does the box still hiss after sealing the corners?
The leak may be at the driver gasket, screw holes, terminal flange or cable exit. A restricted port or mechanical rattle can also be mistaken for a seam problem. Inspect each path separately. Avoid increasing playback level to find a fault that a careful visual check can locate.
Should I block the port to make the box airtight?
No. A ported design needs its intended vent open. Seal unwanted gaps around the vent assembly, not the clear duct. Turning it into a sealed box requires checking the exact driver's sealed target and the plug's construction. A temporary obstruction during playback is not a valid redesign.
Verdict
The reliable answer to how to seal a subwoofer box is to inspect each air path and use the right joint or gasket method. Check cure and fit before operation. Add substantial internal repair material to the volume ledger and keep the product instructions.