
Construction and materials
Subwoofer Box Bracing
Last updated
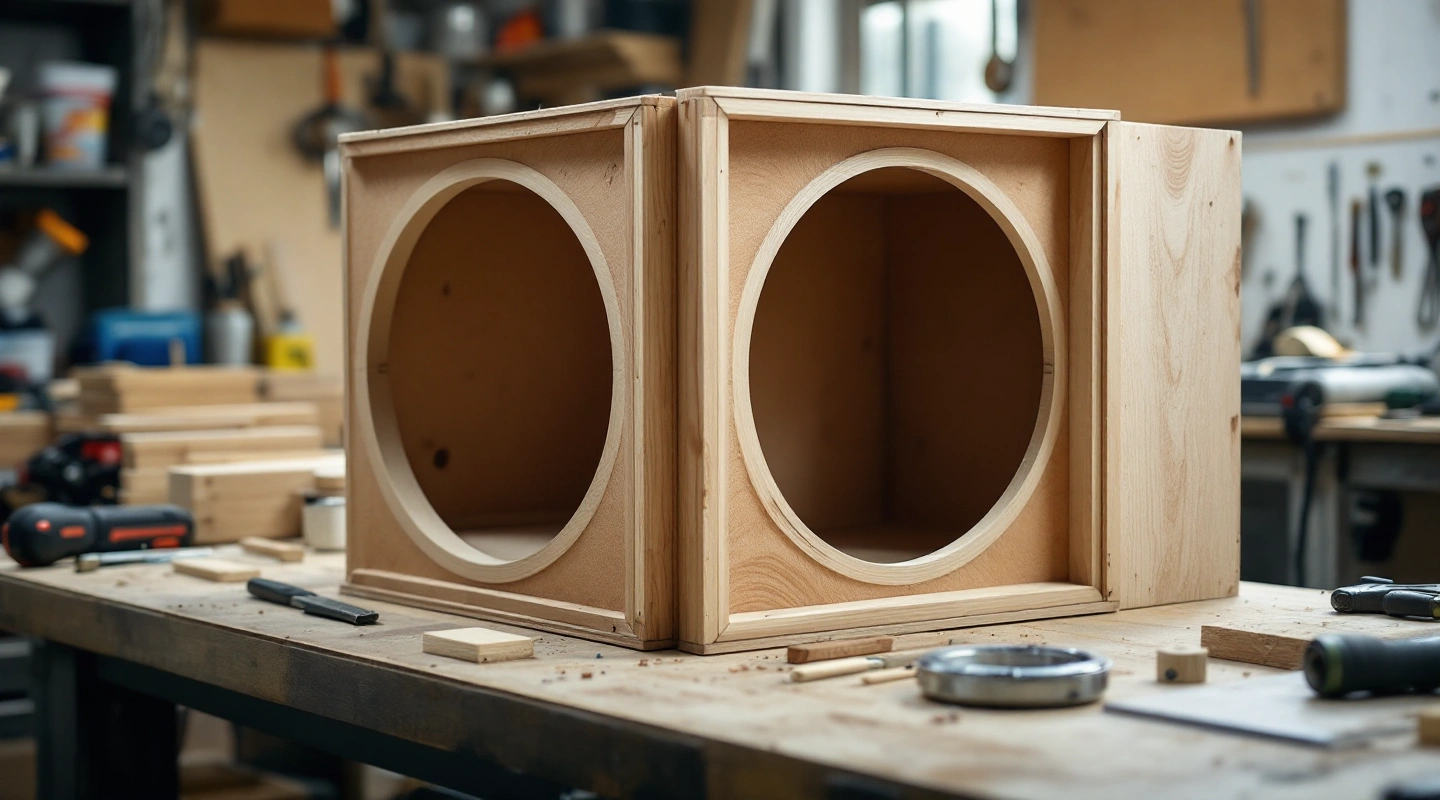
Subwoofer box bracing connects unsupported panel areas so the cabinet is less free to flex. A useful brace must fit around the driver and any vent while making sound bonds to the shell. Its solid material also occupies cavity space. Count that material from the actual layout rather than deducting an unexplained percentage.
Place braces from a section drawing of the whole box. Check them against the driver motor and every other inside part. Calculate each brace's solid volume after removing its openings and overlaps. Add that occupied space only where the maker's target convention requires it. Bracing is not a fixed fraction of every box.
On this page
Place subwoofer box bracing around the driver
Start with the largest unsupported panel spans in your design. The KICKER CompR manual shows triangular corner braces for its box examples. That is a stated detail for those examples, not a fixed brace schedule for every sheet and cabinet span.
Draw the driver's frame, cutout and motor envelope. A cross brace across the cavity may block the magnet even when it clears the front hole. Include mounting and removal access. You should not have to break a cured brace to replace the driver.
Ported boxes need another clear region around the vent entrance and exit. A brace that reduces the intended duct section changes the vent design. Keep brace joints and cable routes away from that path. Use the port construction guide alongside the cabinet drawing.
Work out solid brace material
For a rectangular strip, multiply finished length by width and thickness. For a triangular gusset with a right angle, use half the product of its two perpendicular sides, then multiply by thickness. Divide cubic inches by 1728 to obtain cubic feet.
Take a synthetic window brace 18.5 inches wide, 12.5 inches high and 0.75 inches thick. Cut a centered rectangular opening 14 × 8 inches. Its solid volume is (18.5 × 12.5 − 14 × 8) × 0.75, or 89.4375 cubic inches. That is 0.051758 cubic feet.
The opening in this arithmetic example has square corners. If your real opening has rounded corners or several holes, work out their actual removed area. The example does not prove that this opening or rim width is structurally suitable for a particular box.
Measure glue fillets and extra blocks when their occupied space matters to the target. Record them separately from the main brace. That keeps the brace estimate traceable when you revise the layout.
Remove overlaps once
If two strips intersect, adding both full rectangular volumes counts their crossing twice. Subtract the common solid intersection once. The same rule applies to a brace that shares material with a port partition already in the ledger.
For two hypothetical 18-inch strips, each 1.5 × 0.75 inches in section, the simple sum is 40.5 cubic inches. If their final joint overlaps in a 1.5 × 1.5 × 0.75-inch region, subtract 1.6875. The union occupies 38.8125 cubic inches, or 0.022461 cubic feet.
Use the final joint layout. A half-lap removes material before assembly, so model the remaining pieces and their union consistently. Do not apply both a removed-material correction and a second overlap correction for the same space.
Check net volume after adding subwoofer box bracing
Suppose a measured empty shell is 1.500 cubic feet. Its driver occupies 0.050, the window brace above occupies 0.051758 and the terminal occupies 0.004. The remaining sealed airspace is 1.394242 cubic feet. This is a synthetic ledger with stated inputs, not a driver design.
Now read the target convention. If the exact manual asks for 1.500 cubic feet true net, this shell is too small for that target. The empty cavity needs room for the occupied parts too. A target of 1.500 cubic feet gross cavity answers a different question.
Use the box planner to keep both numbers visible. Brace volume stays unknown until the layout is defined. Entering zero just to finish the calculation hides that missing part of the build.
Bond and inspect while access remains open
Fit braces to the actual panels rather than bridging gaps with a large adhesive bead. Prepare the mating surfaces and use the adhesive maker's clamping and cure instructions. Keep the inside bonds reachable until you have checked their seating.
Dry-fit the driver and terminal before closing the final panel. Check the brace ends against the screw paths. A baffle screw must not project into the cone or basket clearance. Use both the parts drawing and the dry fit: one checks the planned layout, the other checks the actual pieces.
After assembly, inspect for loose cable or brace edges that can rattle. A rattle does not prove that the airspace target is wrong. Check mechanical contacts and joints before changing the box volume or adding random fill.
FAQ
How much volume should I allow for braces?
Calculate the actual solid material in your layout. There is no reliable fixed percentage for every box. Strips, window braces and corner gussets use different amounts. Keep unknown items marked unknown until you have dimensions. A guess may help during sketching, but label it as an assumption rather than a measured deduction.
Does a window brace displace its full rectangle?
No. The opening remains airspace, so subtract its actual area from the outside brace area before multiplying by thickness. Include rounded corners and other cutouts where they matter. If the brace joins another inside structure, account for the final solid union and avoid counting the shared material twice.
Can a brace go directly behind the driver?
Only if the full motor and clearance envelope permits it. Mounting depth alone may not describe every part behind the baffle. Check the actual driver's drawing and removal path. A brace can clear the cutout circle yet collide with the motor, terminals or cable once the driver is installed.
Will extra bracing fix every unwanted noise?
No. A loose cable, leaking gasket or restricted port can make noise for other reasons. Inspect the likely source before changing the cabinet. This guide gives no measured stiffness or sound-output claim for an arbitrary brace layout. Extra material also reduces net airspace, so update the volume ledger after adding it.
Verdict
Good subwoofer box bracing starts with the complete layout and ends in a measured occupied-volume entry. Count openings and intersections once, then compare the resulting airspace with the exact manual. Continue with the joint sealing guide.