
Ports and tuning
How to Seal a Ported Subwoofer Box
Last updated
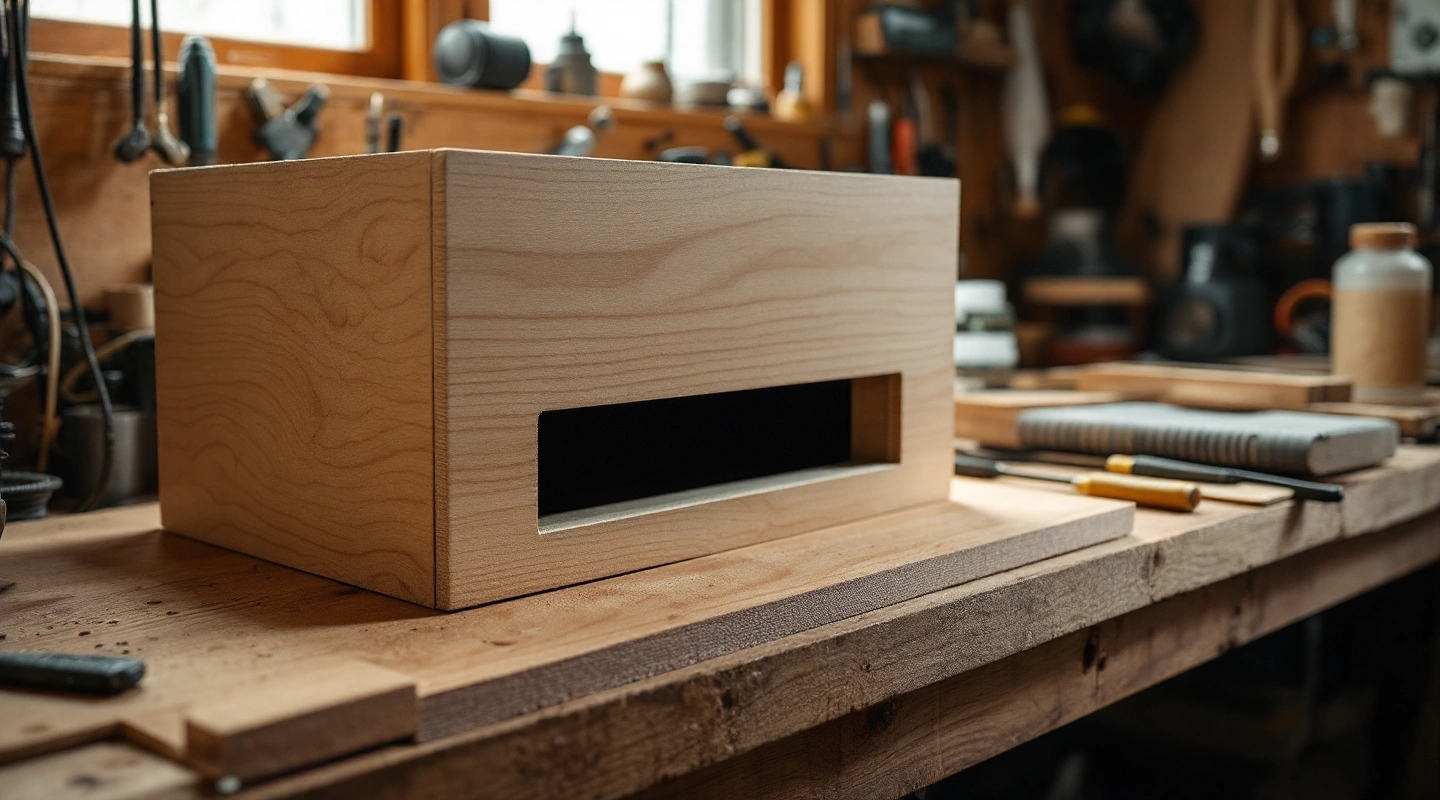
Knowing how to seal a ported subwoofer box means closing unwanted leaks while keeping the designed vent open. The shell seams, driver gasket and terminal mounting need inspection. The vent's clear passage and end layout need to stay as the plan states.
Seal the cabinet and the vent assembly's joints. Keep the intended air path open. Fix poorly fitted structural joints before adding a seam seal. Inspect both the driver gasket and terminal flange. Follow the product's cure instructions, then remeasure any duct section affected by the repair. Blocking the vent changes the box design.
On this page
Find the ported subwoofer box air path
Compare the finished box with its plan. Mark the port opening and the whole inside duct. A slot may share shell walls, so a seam beside the duct can border both the air path and the box cavity. Find which gap is unwanted before applying anything.
Air movement at the intended vent is part of a ported box's operation. A hiss at the driver gasket is a different path. A loose wire or terminal can also rattle. Do not assume every noise heard near a port is a port-sealing fault.
Read how the ported box cavity and vent work together. If the old design is missing, measure the layout. Record the exact driver too. Tuning and fit stay unknown until you have the source data to check them.
Inspect ported subwoofer box joints
With the system disconnected as its instructions require, inspect the reachable seams. Check vent partitions where they meet the shell. Look for an unbonded edge or a crack that opens the duct into the cavity partway along its length.
That inside leak can change the effective vent path. It is not equivalent to a small surface blemish outside the box. Repair the joint using a method suited to the material. A sealant bead cannot hold a failed partition in place.
For a removable tube assembly, inspect its mounting flange and connections. Follow the port maker's assembly method. Check how the joined pieces determine its finished length. Do not assume that a friction fit makes an airtight joint in every modular vent.
Choose the sealing product from its instructions
Read the product sheet for each surface being joined. A sealant for raw wood may not bond to a plastic tube. A coating may need different preparation too. Follow the source steps, including removal of old sealant where required.
Follow the maker's assembly and cure instructions. A guessed wait time can leave uncured material inside the box. The Titebond adhesive FAQ distinguishes clamp time from the time before loading a joint. Check both.
Keep repair material from projecting into the clear duct. A large bead at a narrow corner can change the section. If a structural block is added inside the cavity, measure its space taken up and update the box ledger.
Check driver and terminal seals
Inspect the driver's gasket contact around the baffle. A folded finish layer, damaged gasket or uneven frame seat can leave a gap. Use the stated gasket and fastener procedure. Excess torque is not a reliable leak repair.
Check the terminal cup's flange and gasket, then its individual connection points. A cup can sit tightly on the outside while leaving a cable or molded-joint leak. Follow the terminal's build instructions and keep its inside projection in the fit drawing.
Look for cable contact with the cone, basket or duct. A loose lead can make a buzz that changes with vibration. Resolving that contact may remove the noise without changing the vent layout or coating any seam.
Keep area and length after repair
Measure the finished clear width and height, or inside diameter, after the repair cures. Check both ends and any narrow point. Keep finish materials and loose fill out of the passage. The area math guide uses the clear section, not the outside construction envelope.
For a synthetic slot 2.5 × 12 inches, clear area is 30 square inches. If a repair narrows the width to 2.25 across the full height, it becomes 27 square inches. That geometric difference is real even when the outer mouth looks much the same.
Check the repaired box against its original layout. Calculate tuning again from the final net cavity and vent sizes. If the repair closes a leak partway along the duct, record that the intended path was restored. The earlier estimate is not a measurement of the repaired box.
Verify without blocking the vent
Inspect the repaired seams after cure and check the driver and terminal sit flat. Use controlled low-level checks according to the actual equipment instructions. Stop if there is rubbing or unexpected mechanical noise. Sustained high-power tones are not a sensible way to find a small joint gap.
Do not stuff the port with cloth during playback as a diagnostic shortcut. Blocking the passage changes the box's behavior. A permanent sealed conversion requires a secure airtight plug and a separate check of the driver's sealed target.
If air still rushes at the intended opening, read the chuffing guide. The vent may be blocked or poorly suited to the design. That needs its own check. Sealing a seam will not resolve every vent noise.
Keep a before-and-after repair ledger
Photograph or sketch the leak location for your own record before closing the box. Mark which side of the joint faces the cavity and which faces the duct. Keep the actual product instructions with that note. A seam hidden after assembly is easier to assess later when its construction is recorded.
For a synthetic example, start with 2.00 cubic feet gross. Let fixed parts occupy 0.10 and the inside vent envelope 0.25. Net cavity is 1.65 cubic feet. If a repair adds a measured solid block of 0.02 inside the cavity, the revised net is 1.63 cubic feet. Those are example volumes, not a repair design.
The added block may solve a joint problem while changing the acoustic input. Keep both facts. With the same vent area and effective length, a smaller net cavity raises the ideal tuning estimate. Calculate from the new ledger rather than describing the whole box as unchanged because the outside dimensions stayed the same.
Record a duct restriction separately from a cavity deduction. A bead that projects into one corner can create a varying cross section. The simple constant-section port equation does not gain a complete description just by entering the mouth's largest width. Measure the repaired path and use a model suited to it.
After cure, inspect access to the driver and terminal. A new fillet or block should not prevent a gasket from seating or place a wire against the basket. Keep the maker's component clearances in the drawing. A leak repair is complete only when the repaired joint and the surrounding layout have both been checked.
Save the previous worksheet beside the revised one. Describe the actual repair and which dimensions changed. Label any later impedance sweep as measured evidence with its setup and date. Without that sweep, the new Fb remains a calculation from the final dimensions and stated end treatment.
FAQ
Should a ported box be airtight?
Its shell and component seals should follow the intended design, with air flowing through the stated vent rather than accidental gaps. The port itself stays open. Check the duct walls too, because an inside gap partway along a slot can create an unwanted path even if the outside shell looks sealed.
Can I use expanding foam around the port?
Use a build method documented for the actual parts. Material that expands into the duct changes its clear area. It may also lack the strength the joint needs. Read the sealant and port instructions first. A generic foam label does not establish that a product suits this joint.
Is all port noise caused by leaks?
No. Airflow noise, a loose cable and a leaking gasket can be confused. Locate the source before sealing or altering the vent. A volume or tuning calculation alone cannot diagnose the noise or prove a cure.
Can I permanently block the port?
That creates a different box setup. Check the exact driver's sealed design, the remaining net volume and the plug's secure airtight construction. Account for its occupied space. A loose temporary obstruction does not prove a suitable sealed box and should not be treated as an acoustic design change.
Verdict
The answer to how to seal a ported subwoofer box is to keep the stated vent while fixing unwanted paths. Inspect the whole duct, not just its mouth, and update the layout after large repairs.